What can you do on a rainy evening when you go to your hackerspace?
Take a NoteRF V2 PCB, a
GPS, a battery, and you can make a LoRaWAN GPS tracker!
Solder the PCB
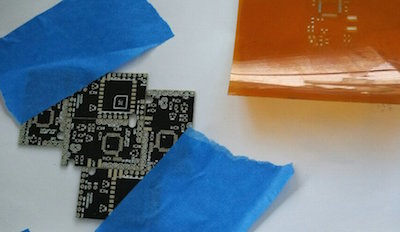
Hand solder it or for lazy guys like me, order a $5 stencil from
OSH Stencil.
Prepare the rig, apply solder paste, and place components.
Time to reflow in a hot plate, then visual and electrical inspection.
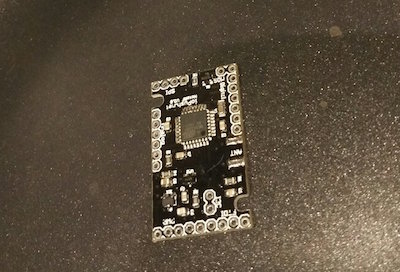
Burn bootloader
Use a pogo-pin rig to easily burn the Arduino bootloader into the ATMega, verify it.
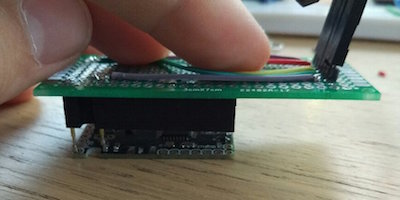
Solder GPS and battery
![]()
Solder the GPS, the battery, flash the code and another time: test it!
Display data
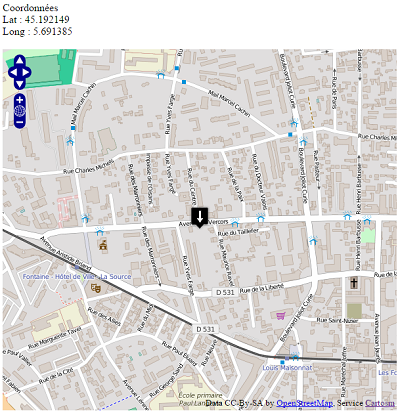
Thanks to Node-Red and OpenStreetMap, we can easily grab data from the LoRaWAN operator, decode and display it on a map.
Make a nice box
We now have a battery-operated GPS tracker… what about putting everything in a box?
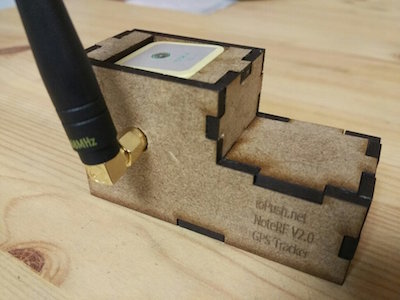
As I use upcycled 18650 lithium elements, the battery is by far bigger than the PCB + GPS, so I decided to design two compartments inside the box. Some lasercut after it is all working !!!
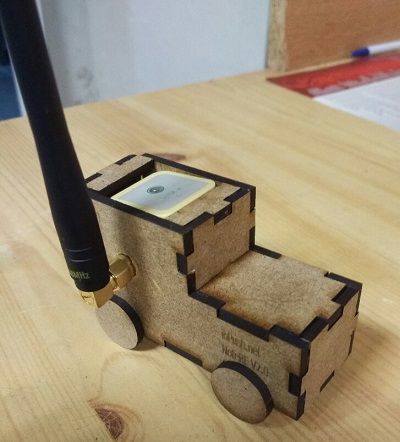
Also, it was not planned, the box sound more like a locomotive than a GPS
tracker, so back to the laser cutter to make four little circles and… finished
product with a fun design!
I even had some time left for a beer :p
Share this post
Twitter
Google+
Facebook
Reddit
LinkedIn
StumbleUpon
Pinterest
Email